Hermes-v2rayA-代理排障记录
Hermes-v2rayA-代理排障记录
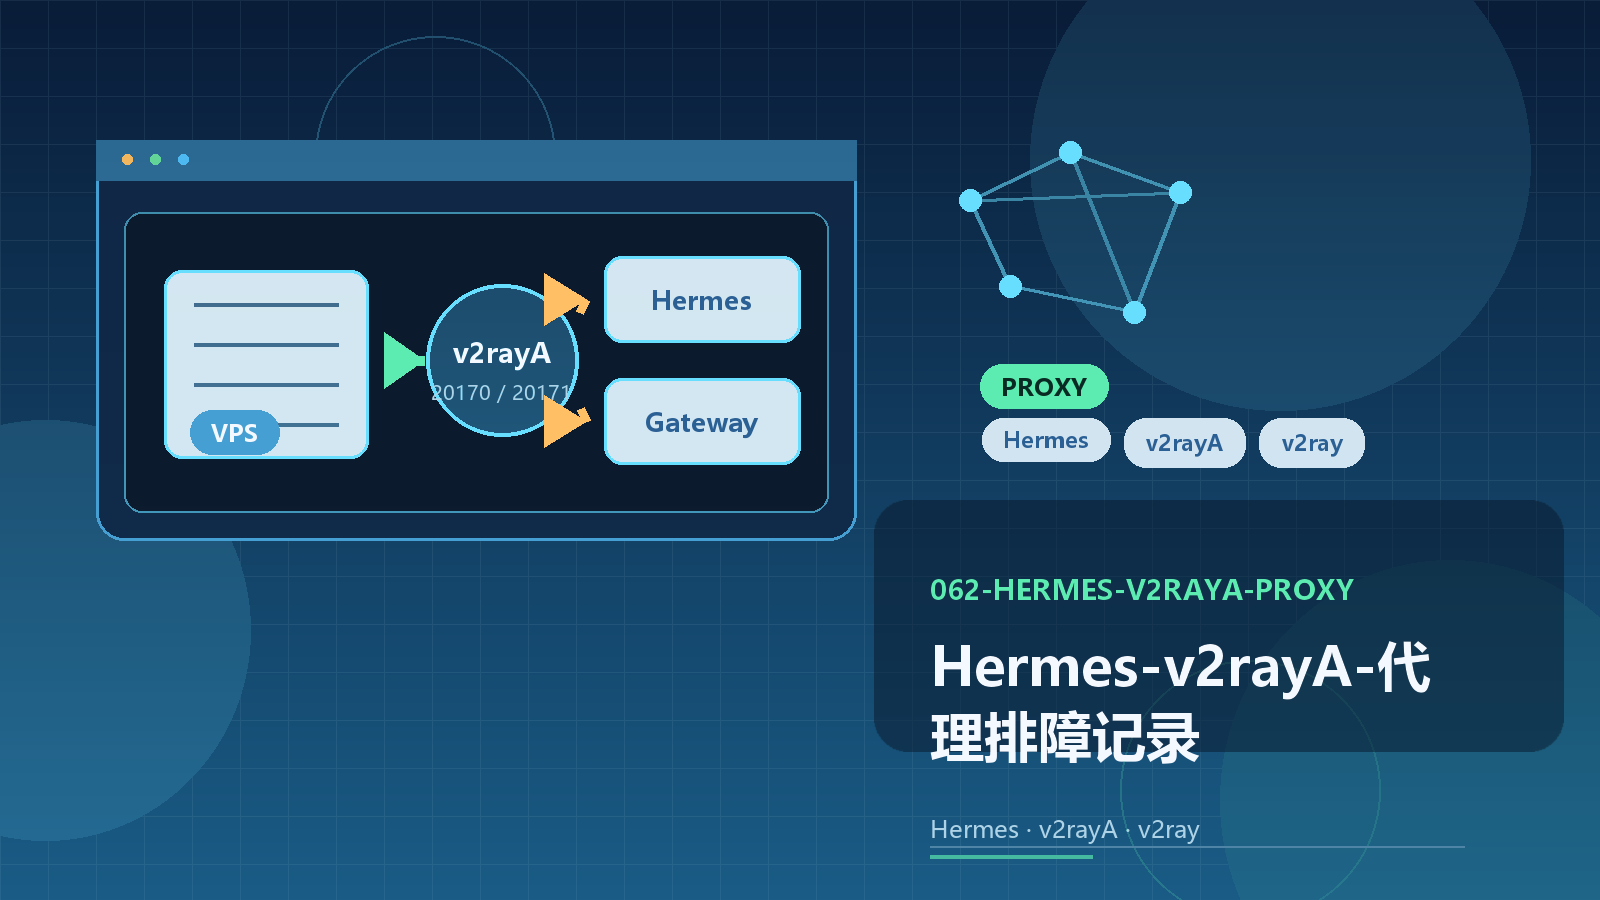
At4ckxuHermes 代理排障记录
本文记录一次从 clash-for-linux 高 CPU 问题,到切换为 v2rayA + v2ray,并最终让 Hermes 与 hermes-gateway 稳定走代理的完整过程。
1. 问题现象
服务器环境:
- Ubuntu VPS
- 4 核 CPU / 4GB 内存
- 运行
Hermes - 之前使用
clash-for-linux
最初症状:
- VPS CPU 持续偏高
top中mihomo进程长期占用约45% ~ 50%CPU- 执行
clashoff后 CPU 恢复正常 - 重新
clashon后,过一会儿 CPU 又会升高
结论:
- 高 CPU 不是
Hermes本身导致 - 高 CPU 的来源是
clash-for-linux启动的mihomo
2. 第一轮排查
先怀疑的是 Tun 模式,因为它会接管整机流量,在 VPS 上最容易引起额外负载。
做过的动作:
clashoff |
但是问题没有真正解决:
- 即使关闭
Tun clashon一段时间后 CPU 还是会再次升高
3. 进一步确认 clash 配置问题
后续查看了 clash-for-linux 的配置和运行结果,发现:
tun.enable虽然已经是false- 但运行配置中仍保留了较重的 DNS 功能
- 同时规则集非常大
典型运行配置片段里包括:
tun: |
同时还有大量规则:
DOMAIN-SUFFIXDOMAIN-KEYWORDIP-CIDR- 广告拦截规则
- 国内外分流规则
由此得到判断:
- 问题不只是
Tun - 也不只是单个配置项
- 而是
mihomo + 当前订阅/规则/DNS这整套组合,在这台 VPS 上不适合长期运行
4. 尝试过的优化方案
尝试过通过 mixin.yaml 做覆盖:
override: |
但结果仍然不理想:
- 重启
clash-for-linux后,系统依旧会出现高负载 - 甚至出现“重启后又卡住”的情况
最终决定:
- 放弃继续使用
clash-for-linux - 改用更轻的方案
5. 替代方案选择
候选方向有三类:
- 继续使用
Clash类方案 - 改用
Xray-core / V2Ray-core - 改用
v2rayA + v2ray
最后选择 v2rayA + v2ray,原因是:
- 不想手动把订阅拆成单节点配置
- 希望能直接导入订阅链接
- 希望保留 Web UI 方便选节点
- 只需要给
Hermes和Telegram gateway提供稳定代理
6. 安装过程中的额外问题
6.1 直接在线安装 Xray 失败
尝试执行官方安装脚本时,访问 GitHub 卡住:
bash -c "$(curl -L https://github.com/XTLS/Xray-install/raw/main/install-release.sh)" @ install |
现象:
- GitHub API 能通
- 但下载 release 资产时卡住
因此改成手动下载二进制上传到 VPS。
6.2 apt 走代理导致更新失败
在使用本机代理转发时,曾把 apt 也带上了代理,导致腾讯云 Ubuntu 镜像源报错:
502 Bad Gateway [IP: 127.0.0.1 17897] |
这说明:
apt不适合无脑跟着代理走- 系统包管理和
Hermes代理需要分开处理
最终策略变成:
apt默认直连- 只让
Hermes相关命令走代理
6.3 v2rayA APT 仓库签名过期
尝试通过官方 APT 源安装 v2rayA 时遇到:
EXPKEYSIG 354E516D494EF95F |
因此也放弃了 APT 安装,改为:
- 手动下载
v2rayA - 手动下载
v2ray - 自己写
systemd服务
7. 最终安装方式
7.1 手动下载的文件
根据服务器架构:
uname -m |
最终下载:
v2ray-linux-64.zipv2raya_linux_x64_2.3.4
7.2 安装 v2ray
执行过程:
mkdir -p /usr/local/share/v2ray |
验证:
/usr/local/bin/v2ray version |
7.3 安装 v2rayA
执行过程:
install -Dm755 /root/v2raya-install/v2raya_linux_x64_2.3.4 /usr/local/bin/v2raya |
7.4 创建 systemd 服务
写入:
[Unit] |
启动:
systemctl daemon-reload |
结果:
v2raya.service正常运行- 占用明显低于
mihomo
8. 订阅导入过程
一开始导入的是一个带 ?clash=3&extend=1 参数的订阅链接。
现象:
- 订阅能保存
- 但
节点数 = 0
说明:
v2rayA没有从这个链接中正确解析出可用节点
之后换了另一个可兼容的订阅链接,结果:
- 成功识别出
94个节点 - 可以在 Web UI 中看到真实节点列表
9. 代理连通状态确认
在 v2rayA 中选择了一个真实节点后,VPS 上确认本地代理端口:
ss -lntp | grep -E '2017|20170|20171|20172' |
可见:
2017:v2rayA Web UI20170:SOCKS520171:HTTP20172:额外 HTTP 端口
随后测试:
curl -x http://127.0.0.1:20171 -I https://chatgpt.com |
返回:
HTTP/1.1 200 Connection established- 随后
HTTP/2 403与 Cloudflare challenge
这说明:
- 代理已经能打到
chatgpt.com curl被挑战拦下,不代表代理本身不可用
同时测试 Telegram:
hermesp curl -I https://api.telegram.org |
返回:
HTTP/1.1 200 Connection establishedHTTP/2 302
这证明代理链路已经正常工作。
10. 最终方案
最终没有做“全局系统代理”,而是采用:
- 只让
Hermes相关命令走代理 hermes-gateway作为后台服务单独注入代理环境变量
这样做的好处:
- 不影响
apt - 不影响国内源
- 不把系统所有流量都带进代理
- 避免重演
clash-for-linux的高 CPU 问题
11. 最终落地命令
11.1 手动执行 Hermes 时使用 hermesp
在 ~/.bashrc 中加入:
hermesp() { |
加载:
source ~/.bashrc |
之后所有 Hermes 相关命令统一这样执行:
hermesp hermes |
11.2 让 hermes-gateway 永久走代理
写入 systemd --user 覆盖文件:
mkdir -p ~/.config/systemd/user/hermes-gateway.service.d |
应用:
systemctl --user daemon-reload |
11.3 验证状态
验证代理端口:
ss -lntp | grep -E '20170|20171' |
验证 Hermes 网络:
hermesp curl -I https://api.telegram.org |
验证网关:
hermesp hermes gateway status |
12. 经验总结
这次排障最重要的结论有 5 条:
clash-for-linux在这台 VPS 上不适合长期使用。- 即使关闭
Tun,mihomo仍可能因为规则集和 DNS 配置导致高 CPU。 - 系统级全局代理会增加维护难度,也更容易影响
apt。 v2rayA + v2ray更适合“订阅直接导入 + 只给特定程序代理”这个场景。- 对
Hermes来说,最稳的方式不是全局代理,而是:- 手动命令使用
hermesp - 后台网关使用
systemd --user环境覆盖
- 手动命令使用
13. 以后固定怎么用
日常最常用的就是下面几条:
hermesp hermes |
如果之前已经开着一个旧的 Hermes 会话,需要退出后重新启动:
Ctrl+C |
如果 Telegram bot 不响应,优先检查:
hermesp hermes gateway status |